
Creating Datatypes
Creating Specific Fields
Now that you have learned how to create data types and add fields to these data types, set properties and select widgets for the fields, let’s see how to create fields that will serve specific purposes.
Let’s assume that you have a form that requires users to fill the following data:
- First name
- Last name
- Email address
- Address
- Date of birth
- Country
- Photo
For this purpose you need to have a data type with a number of specific fields.
First of all, you will need string fields for 4 items. However, one of them - the Address field - must be large enough to fit an address that might be quite long. Then, you will use the Date field for the user’s date of birth. For the Photo, you will allow the user to select one of the images available to serve as her or his photo. Finally, you will create a very simple list of several countries the user will be able to choose from.
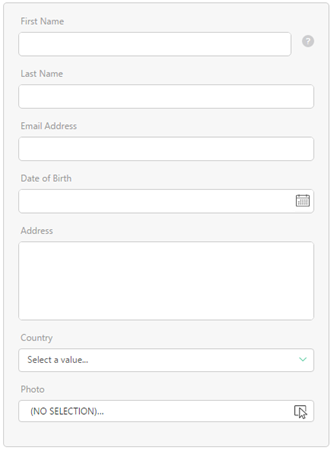
Figure 35: Form to create
With this purpose in mind, let’s see how to create:
- A simple text field
- A large text field
- A Date field
- A Data Reference field
- A String field with the Selector
How to Create Simple Text Field
To create a simple text field:
- Add a field to the data type.
- Set its basic properties such as its name, label, help text and position.
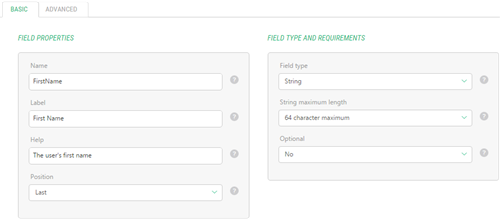
- For the Field type, select String and specify the reasonable length maximum, e.g. 64.
- Specify whether this field is optional or required.
Figure 36: Simple Text Field: basic properties
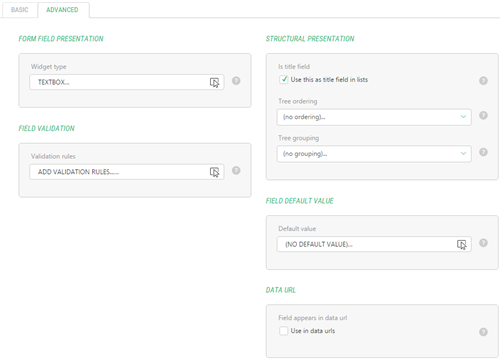
- On the Advanced tab, make sure the TextBox is selected as the Widget type.
- If necessary, specify other advanced properties.
Figure 37: Simple Text Field: advanced properties
- Click Save.
Now this field will be available on an input form as a simple text box.
How to Create Large Text Field
To create a large text input field (also known as a text area):
- Add a field to the data type.
- Set its basic properties such as its name, label, help text and position.
- For the Field type, select String and specify the reasonable length maximum, e.g. unlimited length.
- Specify whether this field is optional or required.

Figure 38: Large Text Field: basic properties
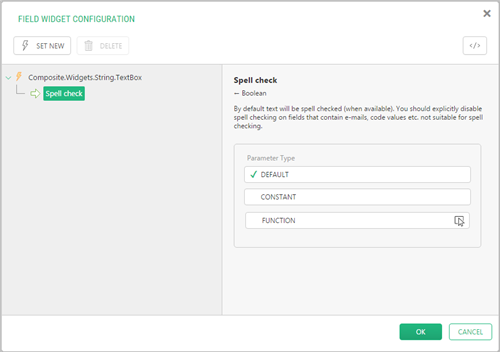
- On the Advanced tab, click the Widgettype field to open the FieldWidgetConfiguration window.
Figure 39: Field Widget Configuration window
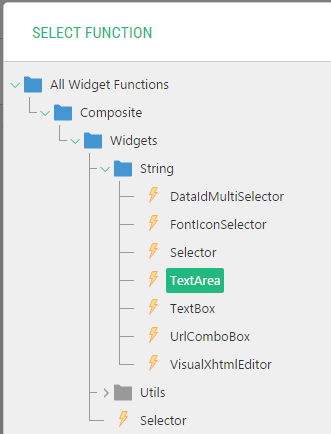
- Click Set New to open the Select Function window and locate and select the TextArea widget (Composite.Widgets.String.TextArea).
Figure 40: Selecting TextArea widget
- Click OK in the Select Function window and in the Field Widget Configuration window.
- If necessary, specify other advanced properties.
Figure 41: Large Text Field: advanced properties
- Click Save.
Now this field will be available on an input form as a text area.
To create a date field that will allow the user to select a date for its value:
- Add a field to the data type.
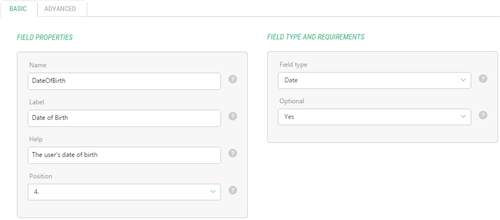
- Specify its basic properties such as its name, label, help text and position.
- For the Field type, select Date.
- Specify whether this field is optional or required.
Figure 42: Date Field: basic properties
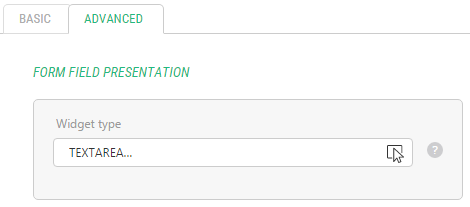
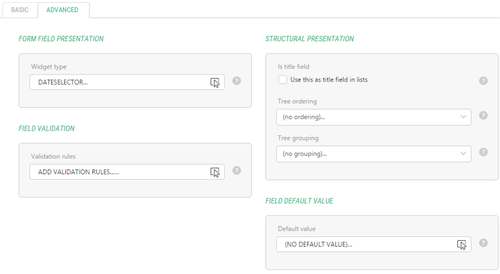
- On the Advanced tab, make sure that the DateSelector is selected as the Widget type.
- If necessary, specify other advanced properties.
Figure 43: Date Field: advanced properties
- Click Save.
Now this field will be available on an input form as a date selector.
How to Create Data Reference Field
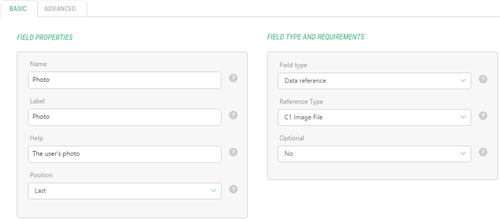
For the Data Reference field we will use the C1 Image File reference type.
To create a Data Reference field of the C1 Image File type:
- Add a field to the data type.
- Specify its basic properties such as its name, label, help text and position.
- For the Field type, select Date Reference and for the Reference Type – C1 Image File.
- Specify whether this field is optional or required.
Figure 44: Data Reference Field of C1 Image type: basic properties
- On the Advanced tab, make sure that the ImageSelector is selected as the Widget type.
- If necessary, specify other advanced properties.
Figure 45: Data Reference Field of C1 Image type: advanced properties
- Click Save.

Now this field will be available on an input form as a drop down list filled with titles of the images available in the Media Archive.
In the similar manner, you can create data reference fields for web pages, media files (e.g. Flash videos), media folders and data items available in other data types.
How to Create String Field with Selector
In some cases, you do not need to create a separate data type, the data items of which will be used in the selector widget on the form. All you have to do is to provide the list of options separated with a comma (or another predefined separator) in a single string and use it with a simple Selector widget for the String field.
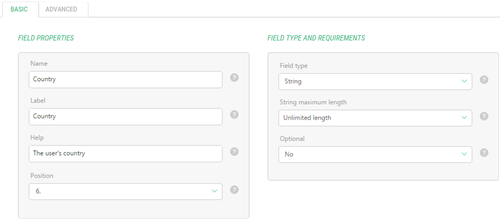
To create a string field that will allow the user to select options from a drop down list:
- Add a field to the data type.
- Specify its basic properties such as its name, label, help text and position.
- For the Field type, select String and specify the reasonable length maximum, e.g. Unlimited length.
- Specify whether this field is optional or required.
Figure 46: The String field: basic properties
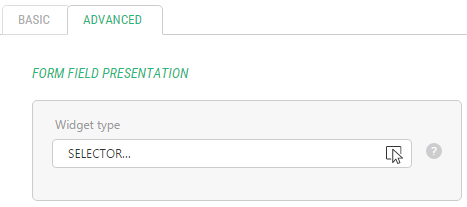
- On the Advanced tab, click the Widget type field to open the Field Widget Configuration window.
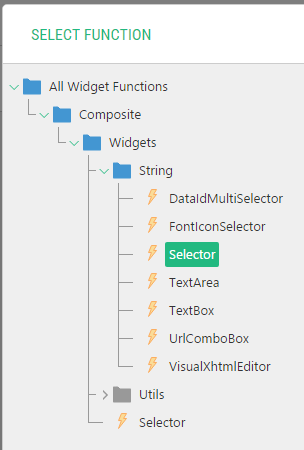
- Click Set New to open the Select Function window and locate and select the Selector widget. Click OK.
Figure 47: Selecting the Selector widget
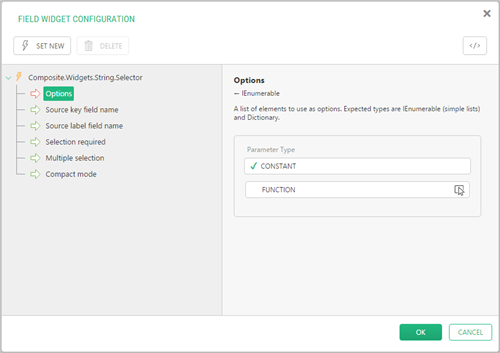
- Select the Options parameter of the Selector widget and click Function for its Parameter type.
Figure 48: Setting the Options parameter
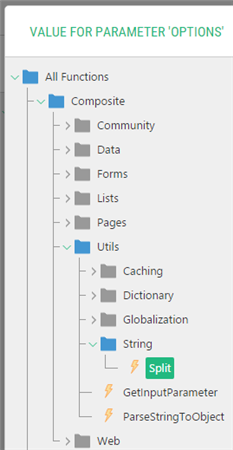
- Locate and select the Composite.Utils.String.Split function in the Select Function window. Click OK.
Figure 49: Selecting the Composite.Utils.String.Split function
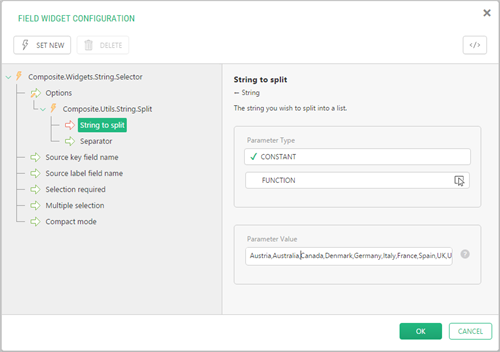
- In the String to split parameter of this function, enter a few options separated by a comma, e.g. “Denmark,USA,UK,TheNetherlands,Germany”. Click OK.
Figure 50: Specifying a string to split
- Click OK in the Field Widget Configuration window.
- If necessary, specify other advanced properties.
Figure 51: The String field: advanced properties
- Click Save.
Now this field will be available on an input form as a drop down list filled with options you have specified.